
On your club website, you will have the ability to add different pages and links to your menu for members to access at any time. This will allow you to add more sections that need greater visibility and that aren’t necessarily suited to an individual news article on your homepage.
There are two steps to this process;
- Create the page in the Website Content
- Add the page to your menu in Website Navigation
This article will focus on Step 1 of creating the page. To add a new page, click on Website on the left-hand side menu and select Sections & Pages 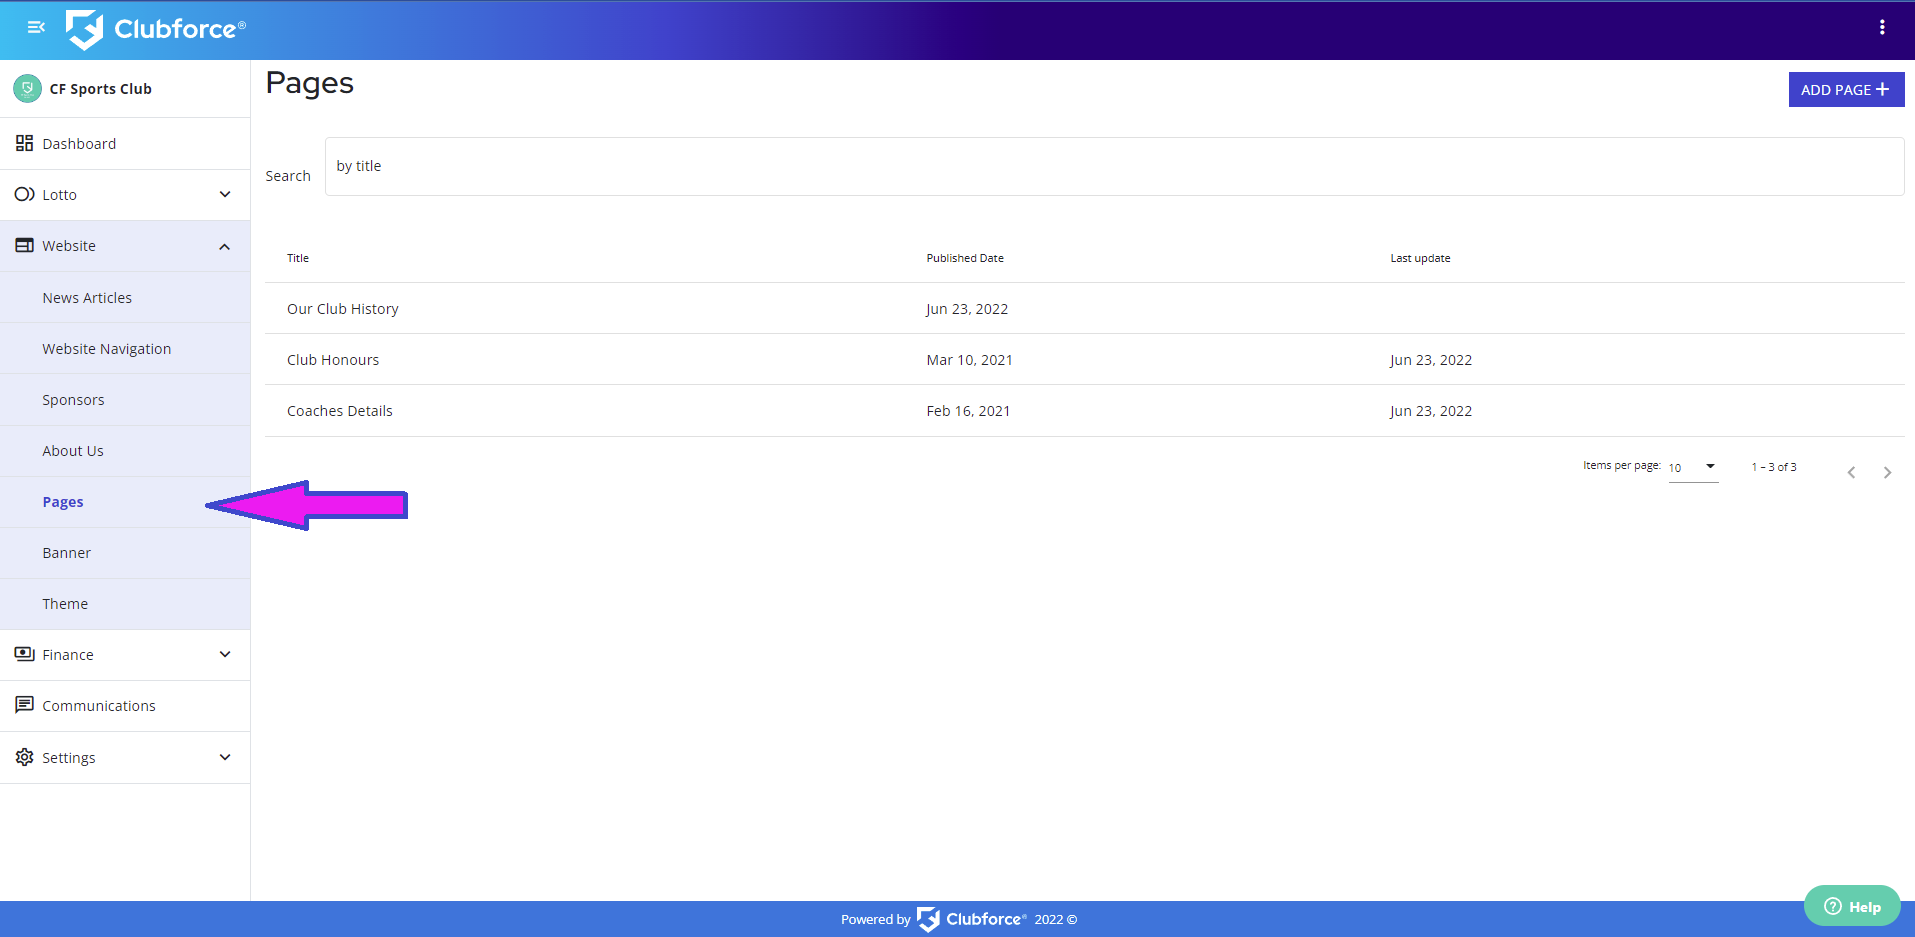
On screen you will see a list of existing pages that have already been created, the date they were created and the date they were last updated. To add a new page, click on the blue Add Page button in the top right-hand corner of the section.
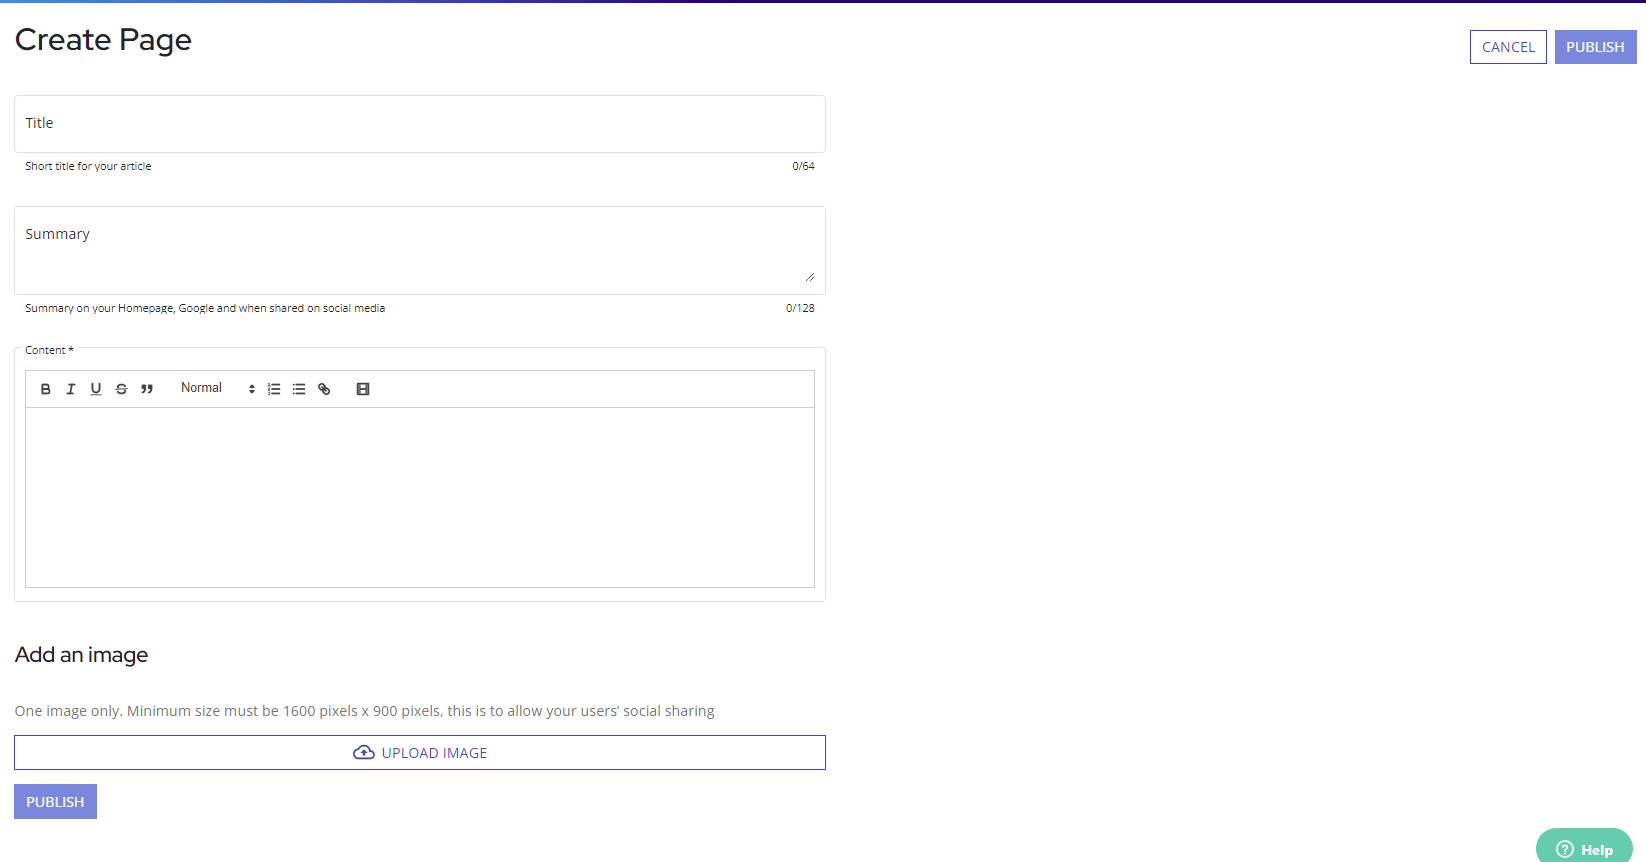
When creating a page, you will be asked to input a Title and Summary along with the Content of the page. The Title and Summary are what people will see on not only the Homepage but also on Google and Social Media links. Bearing this in mind, it is important to keep these short but concise. You can populate these fields with the information you want to add to your page.
The content is the main body where you input the main details about the page you are adding. You will have the ability to add different fonts and designs to your text. If your content is long, we advise you to break up the text with headings and subheadings. You will also have the ability to embed a video URL on the Add Video button.
To add an image on this page, click the Upload Image button.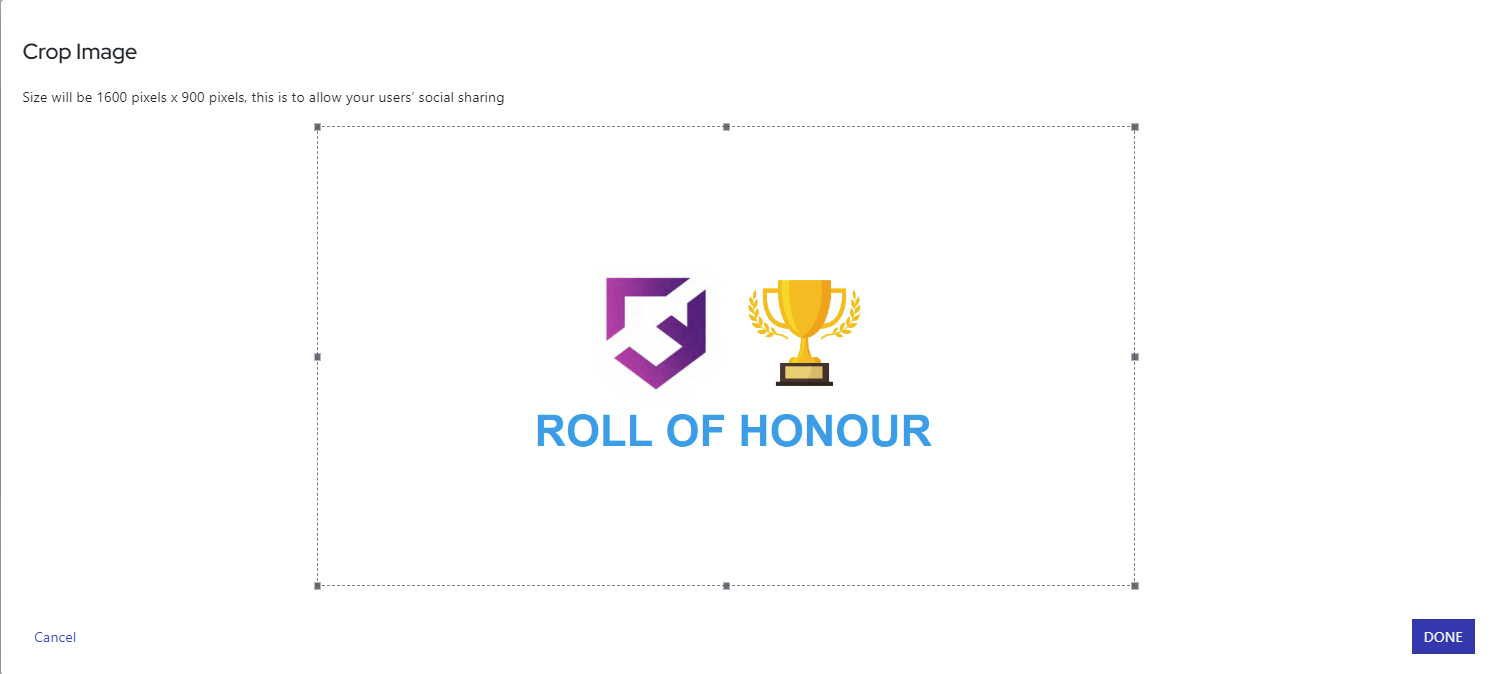
If the image you are adding does not fit the required parameters, a menu will appear asking you to crop the image you want to add. Once you are happy with the resizing, click the blue Done button to save the image settings.
To save the page you have created, click the blue Publish button at the bottom left-hand corner of the section. This will save the Page in your Website Domain.
The next step is to add this page to your Website Navigation for members to access on your Homepage.
To view a full step-by-step interactive tutorial, click on the link below
Comments
0 comments
Article is closed for comments.